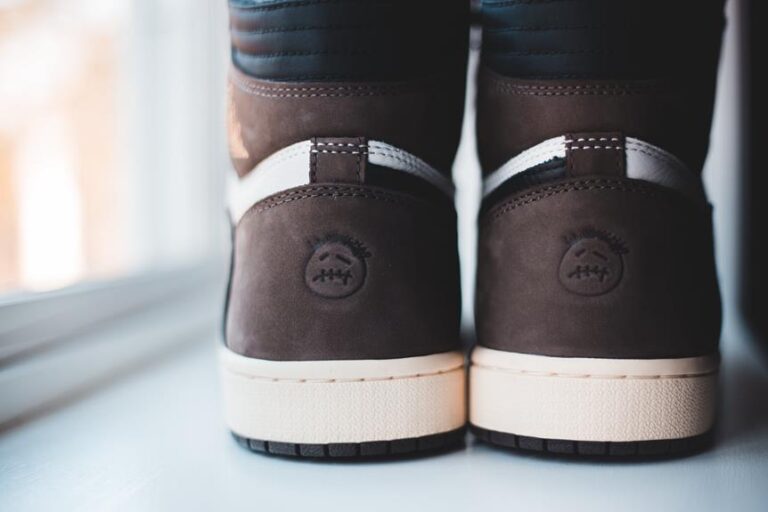
Best Guide How to Lace Puma Axelion Shoes
Craft the Perfect Fit: Learn How to Lace Puma Axelion Shoes with Expert Tips – Elevate Your Footwear Game Today!
Lacing your Puma Axelion shoes can determine the level of comfort and support they provide. Before beginning, make sure to untie any existing laces and loosen the tongue of the shoe. To start lacing, insert the lace into the bottom eyelets of the shoe and pull the lace until it is even. Next, cross the laces over and insert them into the second set of eyelets on the opposite side. Repeat this criss-cross pattern until you reach the top of the shoe. Once you have laced the last set of eyelets, hold the ends of the laces and pull them tightly to ensure a snug fit. Finish by tying a double knot to secure the laces in place. Remember, when lacing your shoes, you can choose different lacing techniques such as straight lacing or bar lacing, depending on your preference and the level of tightness you desire. With the correct lacing method, your Puma Axelion shoes will provide the necessary support and comfort for any activity.
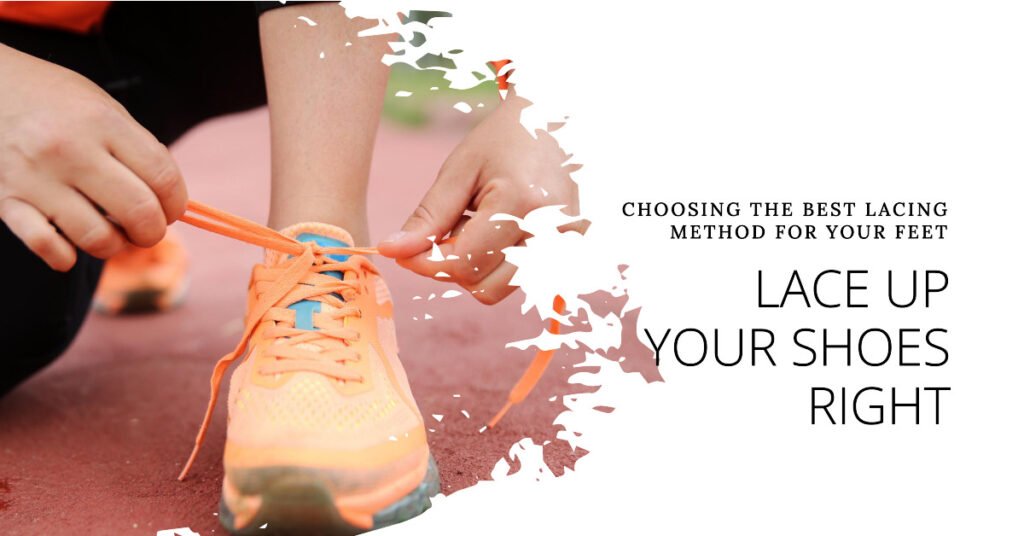
Selecting the Best Lacing Method
When it comes to selecting the best lacing method, it largely depends on the purpose and type of shoes you have. Here are some factors to consider:
1. Comfort: If you have specific foot issues or are experiencing discomfort with your shoes, you may want to try different lacing methods to alleviate pressure points or provide extra support. For example, the “heel lock” or “lace lock” technique is great for preventing heel slippage.
2. Foot type: Different lacing methods can accommodate different foot types. For wide feet, using a wider criss-cross lacing method might provide a more comfortable fit. If you have high arches, the “window lacing” method can create additional space for your arches.
3. Style and fit: Some lacing methods, such as the “straight bar” or “display” lacing, can add a unique visual element to your shoes while still maintaining a secure fit. Experimenting with different lacing styles can also help adjust the fit of your shoes, especially if you have narrow or wide feet.
4. Athletic performance: Depending on your sport or activity, certain lacing methods can enhance performance. For instance, the “runner’s loop” or “loop lock” technique can prevent your foot from slipping or sliding inside the shoe during running or intense physical activities.
5. Special considerations: If you have specific requirements, such as needing extra room in the toe box for bunions or hammer toes, the “wide toe base” lacing method may provide relief. Additionally, if you have a prosthetic limb or orthotics, adjusting the lacing pattern can help accommodate the additional space they require.
Ultimately, the best lacing method is subjective and personal. It may take some trial and error to find the right lacing method for your specific needs and preferences.
Table of Contents
Step 1: Choose the Right Laces
When choosing laces, it’s important to consider the length and material of the laces. The length of the laces will depend on the type of shoe you are lacing. For high-top shoes or boots, you will need longer laces to accommodate the higher shaft of the shoe. On the other hand, low-top shoes may require shorter laces.
Additionally, consider the material of the laces. Traditional cotton or polyester laces work well for most shoes and provide a classic look. However, if you’re looking for something more durable, consider laces made from nylon or paracord. These materials are known for their strength and can withstand heavy use.
Finally, choose laces in a color that complements your shoes or adds a unique touch to your outfit. Neutral colors like black, white, or brown are versatile and can be paired with various shoe colors. Alternatively, you can opt for colorful laces to add a pop of color or match a specific outfit. The choice ultimately depends on your personal style and preferences.
Preparing the Shoes for Lacing

Before lacing up your shoes, it is important to prepare them to ensure maximum comfort and a proper fit. First, loosen the laces completely to open up the shoe. This will allow you to easily slip your foot in and out while preparing the shoe for lacing. Next, adjust the tongue of the shoe to ensure it is centered and positioned properly over the top of your foot. This will prevent discomfort or pressure points that may occur during lacing. Additionally, take the time to check the shoe for any debris or foreign objects that may have found their way inside. This will prevent any discomfort or irritation during your activity. Finally, once the shoes are properly prepared, begin lacing them up. Start from the bottom and work your way up, making sure the laces are evenly tightened on both sides of the shoe. Taking these steps to properly prepare your shoes for lacing will ensure a comfortable and secure fit throughout your activity.
Step 2: Prepare the Shoes
After choosing the shoes that you want to prepare, the next step is to gather all the necessary materials and tools. Depending on the condition of your shoes, you may need a few items to get them ready. Start by cleaning the shoes thoroughly using a soft brush or cloth. Remove any dirt, dust, or debris from the surface and the sole. For stubborn stains, you can use a mild cleaning solution or a mix of water and mild soap. Once the shoes are clean, you can work on repairing any damages. If there are loose threads, tears, or scratches, you will need a needle and thread, fabric glue, or a shoe repair kit. Additionally, you may want to apply a fresh coat of polish or paint to revive the color and shine of the shoes. Finally, let the shoes dry completely before moving on to the next step.
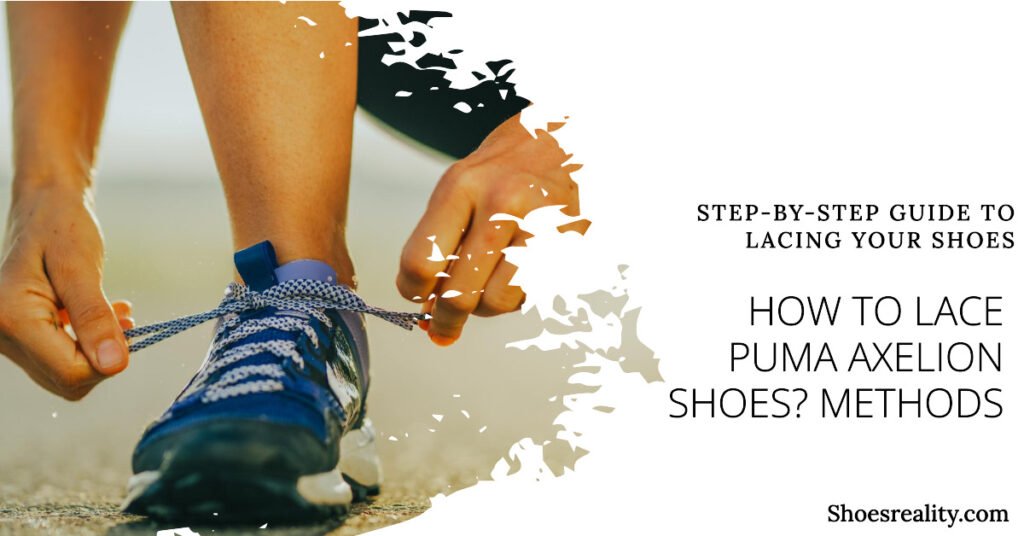
How to Lace Puma Axelion Shoes? Methods
Lacing Puma Axelion shoes can be done in various ways to achieve a comfortable and secure fit. One popular method is the Criss Cross lacing technique. Start by inserting the lace into the bottom eyelet on one side of the shoe and thread it straight across to the corresponding eyelet on the other side. Then, take the lace and insert it into the second bottom eyelet on the same side and cross it over to the second eyelet on the opposite side. Repeat this pattern until you reach the top eyelets, adjusting the tightness as you go along. Another technique is the Straight Bar lacing method, which provides additional support and stability. Begin by inserting the lace straight across from the bottom eyelet on one side to the corresponding eyelet on the other side. Continue this pattern, weaving the lace under and over each subsequent pair of eyelets until you reach the top. Finally, tie the laces securely in a double knot to prevent them from coming undone while walking or running. Experimenting with different lacing techniques allows you to find the best fit and comfort for your feet in Puma Axelion shoes.
Step 3: Start Lacing
Once you have prepared your shoes and chosen your laces, it’s time to start the lacing process. Place the shoe on a flat surface and hold it steady. Begin by inserting one end of the lace into the bottom set of eyelets on one side of the shoe. Pull the lace through until there is an equal length on both sides. Take one lace and thread it through the next set of eyelets, going straight across to the opposite side. Repeat this process with the other lace, creating a crisscross pattern. Continue lacing up the shoe, alternating between the two laces until you reach the top set of eyelets. Make sure the pressure is evenly distributed and adjust the tightness as needed. Once you reach the top, tie a secure knot or bow to keep the laces in place. Finally, double-check that the laces are neat and evenly tightened.
Step 4: Create the Cross
Step 4 of the process involves creating the cross, which is an essential component of a project. The cross serves as a symbol of unity and a reminder of our faith. It is usually made out of wood, metal, or various other materials, depending on the purpose and design of the project. Creating the cross requires careful planning and execution to ensure it reflects the desired aesthetic and cultural significance. Expert craftsmen and artists are often involved in this step, using their skills to shape the materials and add intricate details. They may carve, paint, or embellish the cross with symbols and patterns that hold specific meanings. It is crucial to pay attention to every detail during the creation process, as a beautifully crafted cross can become a cherished and impactful element of the project. Once complete, the cross will become a focal point and a source of inspiration for those who encounter it.
Step 5: Continue Lacing
Step 5 in the process of lacing is to continue the lacing pattern. After completing the initial crisscross pattern, it is important to maintain the same pattern throughout the rest of the lacing. This helps to ensure that the laces are evenly distributed and stay securely in place. To continue the lacing, start from the bottom and work your way up, making sure to keep the tension consistent. This is especially important for shoes that require a tight fit, such as athletic shoes or boots. As you lace up, periodically check the tightness and adjust as needed. Be mindful of any pressure points or discomfort, as this could indicate that the lace tension needs to be adjusted. Take your time and be patient as you work your way up the shoe. Once you reach the top, secure the laces with a double knot to prevent them from coming undone. With this step completed, your laces will be secure and ready for whatever activity lies ahead.
Step 6: Finish Lacing
After completing all the previous steps of lacing, it is time to finish up the process. Step 6 involves making the final adjustments and securing the laces in place. To start, ensure that the laces are centered evenly along the eyelets of the shoe. Then, take the ends of the laces and cross them over each other, going under the bottommost crossed section. Pull the laces tight to ensure a snug fit, but be careful not to over-tighten them, as this can cause discomfort. Once the desired tension is achieved, tie a secure knot at the top. There are several knots that can be used, such as the traditional bow or a double knot for added security. If preferred, the excess lace can be tucked into the top of the shoe or wrapped around the ankle for a neater appearance. After finishing lacing, take a moment to check that the shoes feel secure and comfortable before going about your day.
Step 7: Adjust the Laces
After putting on your shoes, it’s time to adjust the laces to ensure a snug and comfortable fit. Start by holding the ends of the laces and pulling them tight. This will secure the shoes to your feet and prevent them from slipping off during any physical activity. Next, use your fingers to evenly distribute the tension along the laces by pulling them towards the top of the shoe and tightening each loop. Make sure the laces are tight enough to hold your feet firmly in place but not so tight that they restrict circulation. You can also experiment with different lacing techniques to customize the fit according to your foot shape and comfort requirements. Once you feel the desired level of tightness, tie a secure knot at the top and tuck any excess lace into the sides or back of the shoe to prevent tripping. By properly adjusting the laces, you will not only enhance your comfort but also reduce the risk of foot and ankle injuries during physical activities.
Step 8: Try Different Lacing Patterns
One way to add some flair to your shoes and change up their style is by trying different lacing patterns. There are numerous creative ways to lace your shoes, each with its own unique look. For example, the straight bar lacing pattern is a clean and simple option that gives your shoes a tidy appearance. On the other hand, the ladder lacing pattern creates a more intricate design, resembling a ladder. The criss-cross pattern is the standard and most common lacing style, providing a secure and snug fit. By experimenting with lacing patterns, you can customize your shoes to match your personal style and preferences. It’s also a fun way to revive old pairs of shoes that you may have grown tired of. Whether you want to add some elegance or a touch of fun to your shoes, trying different lacing patterns is an easy and affordable way to do so.
Step 9: Maintain the Shoes
Once you’ve invested in a good pair of shoes, it’s important to take care of them properly. This step involves maintaining the shoes to ensure they last as long as possible. Start by cleaning your shoes regularly to prevent dirt and grime from building up. Use a soft brush or cloth to remove any debris and wipe away stains with a damp cloth. Allow your shoes to air dry completely before storing them. Additionally, it’s important to properly store your shoes to prevent them from getting damaged. Use shoe trees or stuff them with newspapers to help maintain their shape and absorb moisture. Avoid storing your shoes in damp or humid environments, as this can cause mold or mildew to develop. Finally, make sure to regularly check the soles and heels of your shoes for any signs of wear and tear. Replace or repair them as needed to prevent further damage and maintain the overall quality of your shoes.
How I Lace The Puma Axelion Perf Training
Conclusion: How to Lace Puma Axelion Shoes
In conclusion, lacing Puma Axelion shoes is a straightforward process that requires minimal effort. By following the steps outlined above, you can ensure a secure and comfortable fit for your feet. The crisscross lacing technique provides ample support and stability, allowing you to perform various activities without worrying about your shoelaces coming undone. The double knot at the end guarantees that your laces will stay in place throughout the day. It is important to remember to adjust the tightness of the laces to your preference, ensuring that they are not too loose or too tight. Additionally, if you have any specific foot conditions or need additional support, it is beneficial to consult a podiatrist or shoe specialist for appropriate lacing techniques. Overall, lacing your Puma Axelion shoes correctly will not only enhance the aesthetic appeal but also optimize the functionality of the footwear, giving you a comfortable and secure fit for all your daily activities.
Read More.
FAQs
How do I start lacing up my Puma Axelion shoes?
To start lacing up your Puma Axelion shoes, first ensure that you have the correct size. Once that’s confirmed, follow these steps:
Begin by inserting your foot into the shoe and making sure it’s properly aligned.
Hold one lace in each hand and thread them through the bottom eyelets of the shoe, ensuring they are even.
Pull the laces snug but not too tight to allow room for adjustment.
Continue lacing through each set of eyelets, crossing the laces as you go until you reach the top.
What is the best way to tie my Puma Axelion shoes?
The best way to tie your Puma Axelion shoes is a personal preference, but a common method is the “bunny ears” technique:
After lacing through all the eyelets, create a loop with one lace in each hand, resembling bunny ears.
Cross one loop over the other.
Tuck one loop under the other and pull it through the hole, forming a secure knot.
Adjust the tightness as needed for comfort.
How tight should I lace my Puma Axelion shoes?
The tightness of your laces depends on your personal comfort and the activity you’re engaged in. Generally, lacing should be snug but not overly tight to avoid cutting off circulation or causing discomfort. You should be able to wiggle your toes comfortably while ensuring your foot is securely held in place.
How do I adjust the fit of my Puma Axelion shoes?
To adjust the fit of your Puma Axelion shoes:
Loosen or tighten the laces gradually to achieve the desired level of comfort and support.
Pay attention to any pressure points or areas that feel too tight, and adjust the laces accordingly.
Make sure both shoes are laced evenly for balanced support.
Can I customize the lacing pattern on my Puma Axelion shoes?
Yes, you can customize the lacing pattern on your Puma Axelion shoes to suit your style and fit preferences. Experiment with different lacing techniques like straight bar lacing, ladder lacing, or crisscross lacing. Keep in mind that while customization is possible, it should still ensure a secure and comfortable fit for your feet.